Many years ago, I wrote a blog post about TFS and DevOps. A lot has changed since then, with multiple versions of the build pipeline being released, but it continues to be one of the most trafficked articles on our site. Microsoft has worked hard to create a better experience for build automation and continuous integration – so I worked hard on updating this walkthrough. Recently, Microsoft released the idea of multi stage pipelines that work and feel much like how GitLab CI works.
In this post I’ll walk through a basic YAML file and show how you can get a C# project up, built, and tested quickly.
Setup
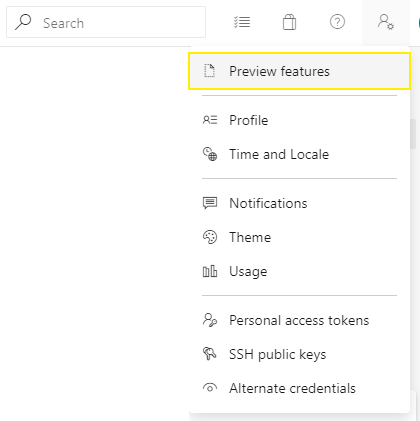
We need to have a project that is checked into DevOps before we begin. I have a repository that I made for this blog up on DevOps. that is a basic dotnet core console application and a unit test project that goes along with it. At the time of writing this blog post you will also need to turn on the multi-stage pipelines Preview Feature in order to get the best view for these pipelines. You can do that by clicking on the user settings button

Then click on preview features
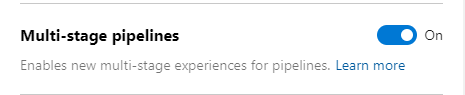
Then ensure that multi-stage pipelines are enabled
First Steps
First we need to add a YAML file into our project. I tend to put this file directly at root and name it azure-pipelines.yaml. Then we need to define our stages. A stage is a collection of jobs and can be run concurrently or can be dependent on another stage successfully completing. For this quick project we will have two different stages
- Build
- Test
In order to define these stages in our pipeline we need to write some YAML like
stages:
  - stage: build
    displayName: Build
  - stage: test
    displayName: Test
    dependsOn:
    - build
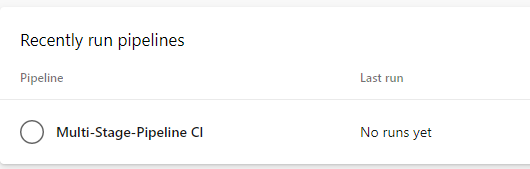
this will give us building blocks to add our jobs. If you check this file into DevOps and navigate to pipelines you can see that we have a pipeline defined without any runs associated to it.
Adding a Job
A job runs on a build agent. By default DevOps provides hosted build agents. These agents are a pre-configured VM that have a lot of different development tools pre-installed. I’ll be using the hosted agents for this post.
Let’s add in some YAML to add a job that will build our dotnet solution. We can do this in one of two ways, we can use a DevOps “task” or we can write a script. Tasks can provide a lot of features that you would normally need to script yourself. These can be very helpful, however it also hides a lot of what is being run. I tend to try and use tasks as they get updated regularly to add additional features and fix bugs. Microsoft hasn’t made tasks to solve every problem however so you will need to write some scripts eventually.
Example as Task
variables:
  buildConfiguration: "Release"

stages:
- stage: build
  displayName: Build
  pool:
    vmImage: "Ubuntu 16.04"
  jobs:
  - job: build_dotnet_solution
    displayName: build dotnet solution
    steps:
    - task: DotNetCoreCLI@2
      inputs:
        command: build
        arguments: '--configuration $(buildConfiguration)'
- stage: test
  displayName: Test
  dependsOn:
  - build
Example as script
variables:
  buildConfiguration: "Release"

stages:
- stage: build
  displayName: Build
  pool:
    vmImage: "Ubuntu 16.04"
  jobs:
  - job: build_dotnet_solution
    displayName: build dotnet solution
    steps:
    - script: |
      dotnet build --configuration $(buildConfiguration)
- stage: test
  displayName: Test
  dependsOn:
  - build
In both examples I have added a variable to set the build configuration setting for the pipeline. Variables are very helpful and DevOps also provides a lot of pre-defined variables for you. You can ready about them here.
Artifacts
Now that we have our job running and our solution is being built. We will probably want to retain these files. We will need to artifact these files if we want to use them in a different job, or we can download them later for manually testing the build.
variables:
  buildConfiguration: "Release"

stages:
- stage: build
  displayName: Build
  pool:
    vmImage: "Ubuntu 16.04"
  jobs:
  - job: build_dotnet_solution
    displayName: build dotnet solution
    steps:
    - task: DotNetCoreCLI@2
      inputs:
        command: build
        arguments: '--configuration $(buildConfiguration)'
    - publish: $(System.DefaultWorkingDirectory)/src/demo-project/bin/$(buildConfiguration)/netcoreapp3.0/
      artifact: source
- stage: test
  displayName: Test
  dependsOn:
  - build
Once the build is completed you should see the artifacts on the build page. You can download them and use them in different jobs now.

Testing
Now that we have our code built, we can go ahead and run the tests for our application. DevOps also has the ability to show us test results through its dashboards. It’s easiest to use the task for this, as the task has capabilities to upload the tests results for us.
variables:
  buildConfiguration: "Release"

stages:
- stage: build
  displayName: Build
  pool:
    vmImage: "Ubuntu 16.04"
  jobs:
  - job: build_dotnet_solution
    displayName: build dotnet solution
    steps:
    - task: DotNetCoreCLI@2
      inputs:
        command: build
        arguments: '--configuration $(buildConfiguration)'
    - publish: $(System.DefaultWorkingDirectory)/src/demo-project/bin/$(buildConfiguration)/netcoreapp3.0/
      artifact: source
- stage: test
  displayName: Test
  dependsOn:
  - build
  jobs:
  - job: test_dotnet_solution
    displayName: test dotnet solution
    steps:
    - task: DotNetCoreCLI@2
      inputs:
        command: test
        arguments: '--configuration $(buildConfiguration)'
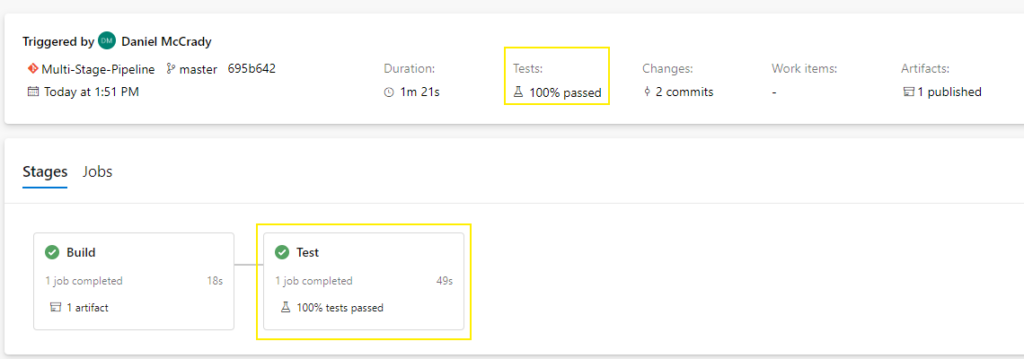
With this, you now have a basic build and test pipeline that will run with every check-in to your repository. There is a lot more that can be done, such as managing environments and performing releases. I hope that this is a good starting block to get you moving with DevOps.